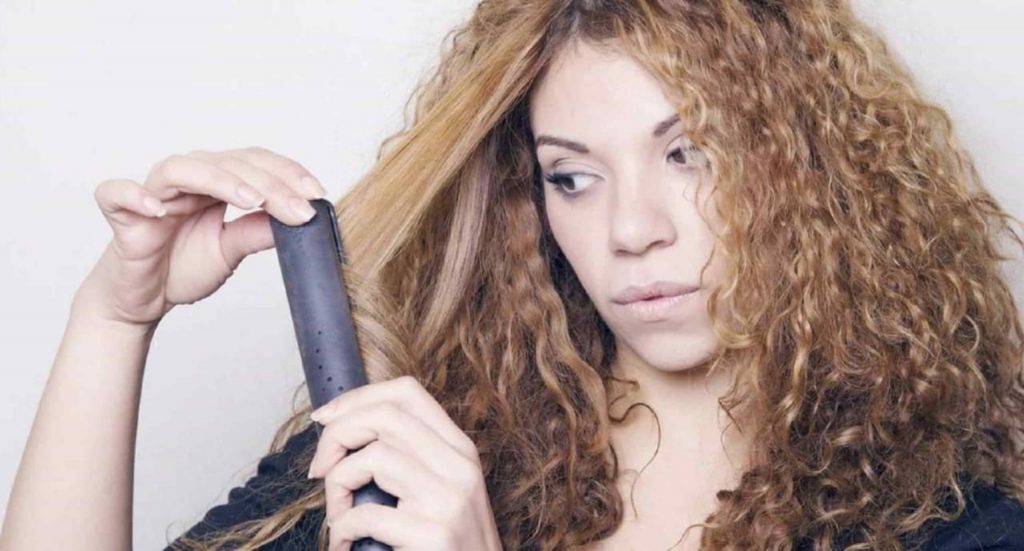
Curly hair can be a beautiful and unique asset, but there may be times when you want to switch up your look and experiment with straight hair. However, to achieve the best results without causing damage, it’s crucial to prepare your curly hair properly before straightening it. In this article, we will guide you through the essential steps to prep curly hair for straightening, ensuring a smooth and stunning transformation.
Transitioning from curly to straight hair requires careful preparation to minimize heat damage and maximize the longevity of your straightened style. By following a few key steps, you can achieve sleek, straight hair without compromising the health and integrity of your curls.
Understanding Curly Hair
Before diving into the prepping process, it’s important to understand the unique characteristics of curly hair. Curly hair tends to be drier and more prone to frizz due to its structure, which makes it crucial to take extra care when applying heat. By properly prepping your curly hair, you can minimize potential damage and achieve optimal results.
Importance of Prepping Curly Hair for Straightening
Prepping curly hair before straightening not only protects your hair from heat damage but also ensures a smoother straightening process and longer-lasting results. Proper preparation involves cleansing, conditioning, and applying heat protectant products to shield your hair from excessive heat exposure.
Step 1: Cleansing and Conditioning
To start the prepping process, it’s essential to cleanse and condition your curly hair. Choose a shampoo and conditioner specifically formulated for curly hair, as they will provide the necessary hydration and control frizz. Look for sulfate-free products that won’t strip away your hair’s natural oils.
Choosing the Right Shampoo and Conditioner
When selecting a shampoo, opt for a moisturizing and gentle formula that won’t weigh down your curls. Conditioners should be rich in moisture and offer deep hydration to combat dryness and minimize frizz. Consider using a leave-in conditioner for added hydration and protection.
Deep Conditioning Treatments
In addition to regular conditioning, incorporate deep conditioning treatments into your hair care routine. These treatments provide intense moisture and nourishment, promoting healthier hair and reducing the risk of heat damage during the straightening process. Apply a deep conditioner once a week or as recommended by the product instructions.

Step 2: Applying Heat Protectant
Before subjecting your curly hair to heat styling tools, applying a heat protectant is crucial. Heat protectant products create a barrier between your hair and the high temperatures of flat irons or straighteners, reducing the risk of heat damage.
Importance of Heat Protectant
Heat protectant sprays or serums coat the hair shaft, forming a protective shield that minimizes moisture loss and prevents direct contact between the heat and your hair. They also help to seal the cuticles, reducing frizz and ensuring a smoother straightening process.
Choosing the Right Heat Protectant
When selecting a heat protectant, look for a product that offers both thermal protection and moisturizing benefits. Ideally, choose a product with a lightweight formula that won’t weigh down your hair. Apply the heat protectant evenly throughout your hair, paying extra attention to the ends and more vulnerable areas.
Step 3: Detangling and Sectioning
Proper detangling and sectioning play a crucial role in preparing your curly hair for straightening. These steps ensure that your hair is evenly exposed to heat, allowing for a smoother and more efficient straightening process.
Detangling Curly Hair
Gently detangle your hair using a wide-toothed comb or a brush specifically designed for curly hair. Start from the ends and work your way up to avoid causing unnecessary breakage or damage. Apply a detangling spray or a lightweight leave-in conditioner to ease the process and minimize hair loss.
Sectioning Hair for Straightening
Sectioning your hair makes it easier to straighten each section thoroughly. Use hair clips or hair ties to divide your hair into manageable sections. Begin with the bottom layers and work your way up, ensuring that each section is evenly straightened.
Step 4: Blow Drying
Blow drying is an essential step in the prepping process for straightening curly hair. It helps to stretch out the curls, making them more manageable for the flat iron or straightener.
Using a Diffuser Attachment
If you prefer a blowout-style straightening method, attach a diffuser to your blow dryer. The diffuser helps to distribute the airflow evenly, minimizing frizz and maintaining your hair’s natural volume.
Using the Tension Method
Alternatively, you can opt for the tension method when blow drying your hair. Comb through a small section of your hair, hold it taut, and direct the airflow along the hair shaft. This technique helps to stretch out the curls and provides a smoother foundation for straightening.
Step 5: Using Flat Irons or Straighteners
The use of flat irons or straighteners is the key step in achieving straight hair. However, it’s essential to choose the right tool and apply the correct technique to minimize heat damage and maximize results.
Selecting the Right Flat Iron
Invest in a high-quality flat iron or straightener with adjustable temperature settings. Ceramic or tourmaline plates are excellent options as they distribute heat evenly and minimize hair damage. Adjust the temperature based on your hair’s thickness and texture to avoid excessive heat exposure.
Applying the Right Technique
When using a flat iron, take small sections of hair and run the iron from the roots to the ends in one smooth motion. Avoid clamping down too hard or repeatedly going over the same section, as this can cause damage. Maintain a steady pace to ensure consistent results.
Step 6: Finishing Touches
To complete the straightening process and add the finishing touches, incorporate a few final steps to enhance the appearance and longevity of your straightened hair.
Applying Anti-Frizz Serum
Apply a small amount of anti-frizz serum to your hair to combat frizz and add shine. Focus on the ends and more frizz-prone areas. Remember to use the serum sparingly to avoid weighing down your hair or making it look greasy.
Setting with Hairspray
Lock in your straightened style and protect it from humidity by applying a light hold hairspray. Choose a hairspray that doesn’t make your hair feel stiff or sticky, allowing for natural movement and flexibility.
Common Mistakes to Avoid
To ensure a successful straightening process and maintain the health of your curly hair, it’s important to avoid common mistakes that could lead to damage. Here are some key pitfalls to steer clear of:
- Skipping heat protectant products
- Using excessive heat or incorrect temperature settings
- Rushing through the straightening process
- Overloading your hair with styling products
- Ignoring regular maintenance and touch-ups
Tips for Maintaining Straightened Hair
To keep your straightened hair looking fabulous for longer, follow these maintenance tips:
- Avoid washing your hair too frequently to preserve the straightened style.
- Use dry shampoo or refreshers between washes to control oiliness.
- Protect your hair while sleeping by using a satin or silk pillowcase or tying your hair up with a satin scarf.
- Minimize exposure to humidity and moisture, as they can cause your hair to revert to its natural curl pattern.
- Trim your ends regularly to prevent split ends and maintain healthy hair.
Prepping curly hair for straightening is essential to achieve beautiful, straight hair while minimizing damage. By following the outlined steps, including cleansing, conditioning, applying heat protectant, detangling, blow drying, using flat irons, and adding finishing touches, you can confidently transform your curls into sleek and stunning straight locks.
